Quick Start for Biologists
We will be using Google Colab, a Google Cloud development environment. The only prerequisite is to have a free Google account.
Step 1: Open the Notebook
Open the following link which will take you to a Google Colab space. You may be prompted to sign into your Google account if not already signed in.
Step 2: Save Your Own Copy
To run and edit the code, you must save a copy to your personal Drive. Go to File > Save a copy in Drive.
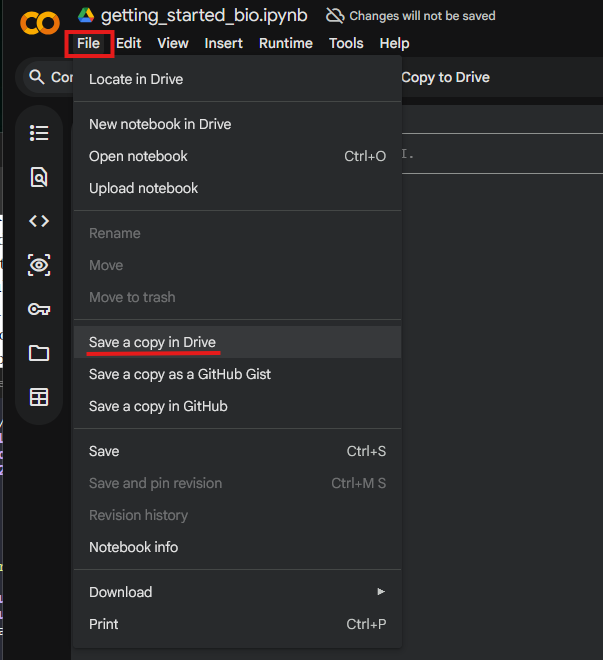
Save a copy to your Google Drive to enable editing.
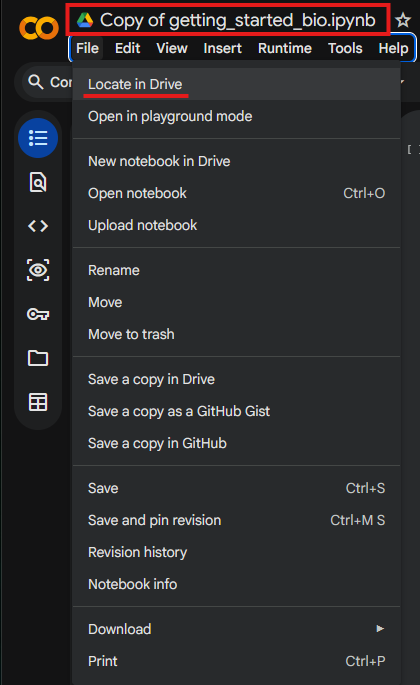
You will now be working on your own “Copy of…” the notebook.
Step 3: Install the Library
Run the first code cell to install the bioneuralnet package by clicking the Play button.
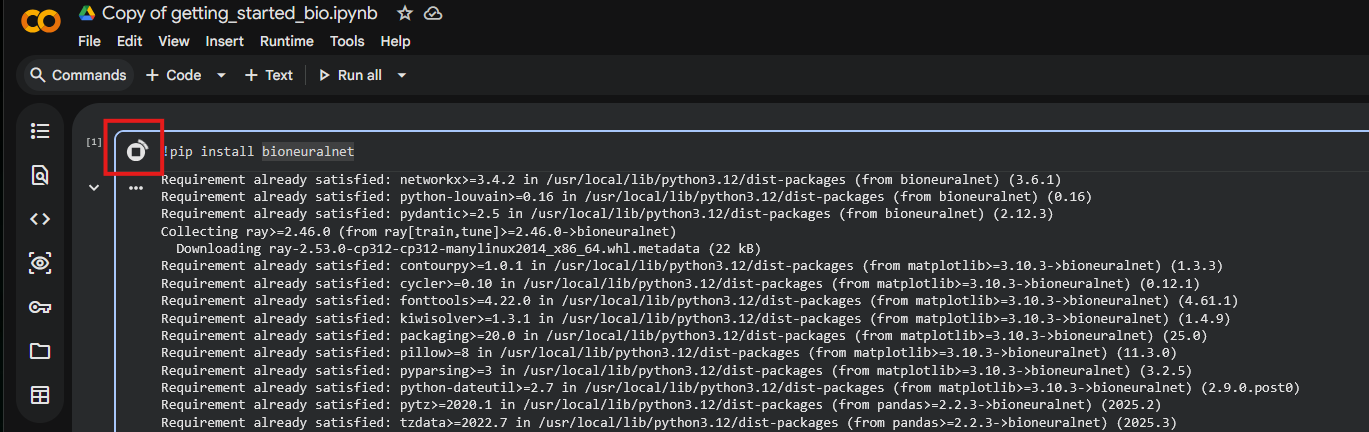
Click the Play button to install dependencies.
Step 3.5: Install the PyTorch and PyTorch Geometric
Run the following two cells to also install torch and torch_geometric.
Important: You may need to restart the session to use the newly installed packages. Click Restart session when the warning appears.
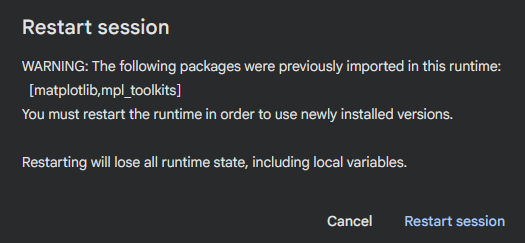
Restart the runtime to finalize installation.
Step 4: Upload Your Data
Click the Files icon (folder) on the left sidebar.
Click the Upload icon.

Open the file manager and select Upload.
Navigate to your data file (e.g., survey lung cancer.csv) on your computer and select Open.
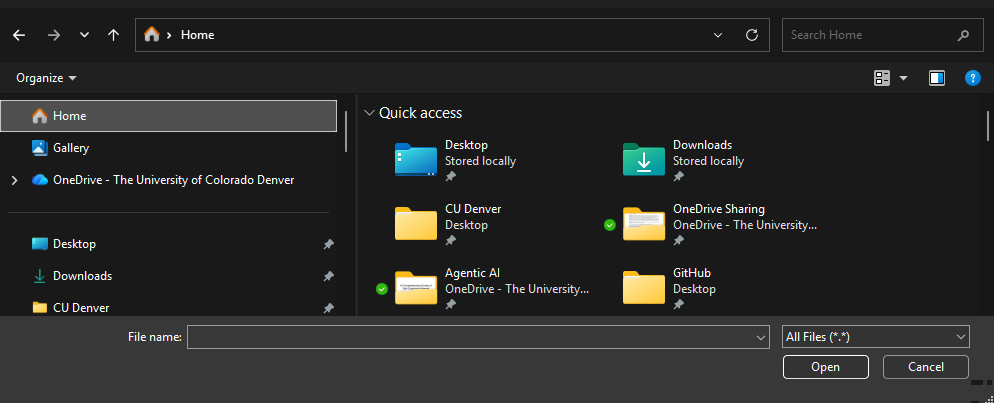
Locate your dataset folder.
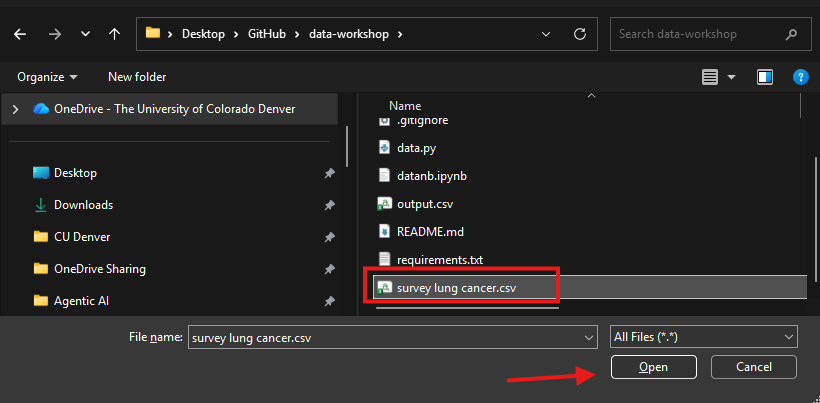
Select your CSV file to upload.
Once uploaded, you will see your file in the side panel. You can now load it using pandas as shown in the notebook.
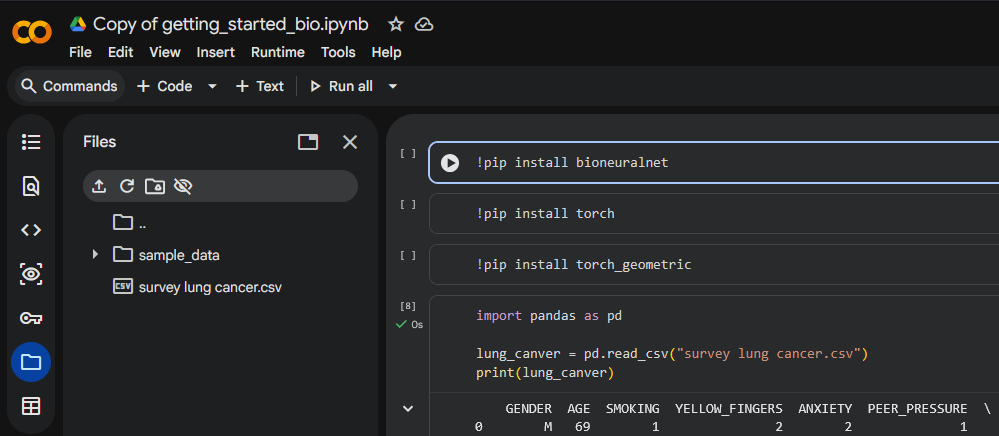
Verify that your file appears in the sidebar.
Step 5: Run Example Analysis
You can now use the built-in DatasetLoader to load example data to see how to use BioNeuralNet.
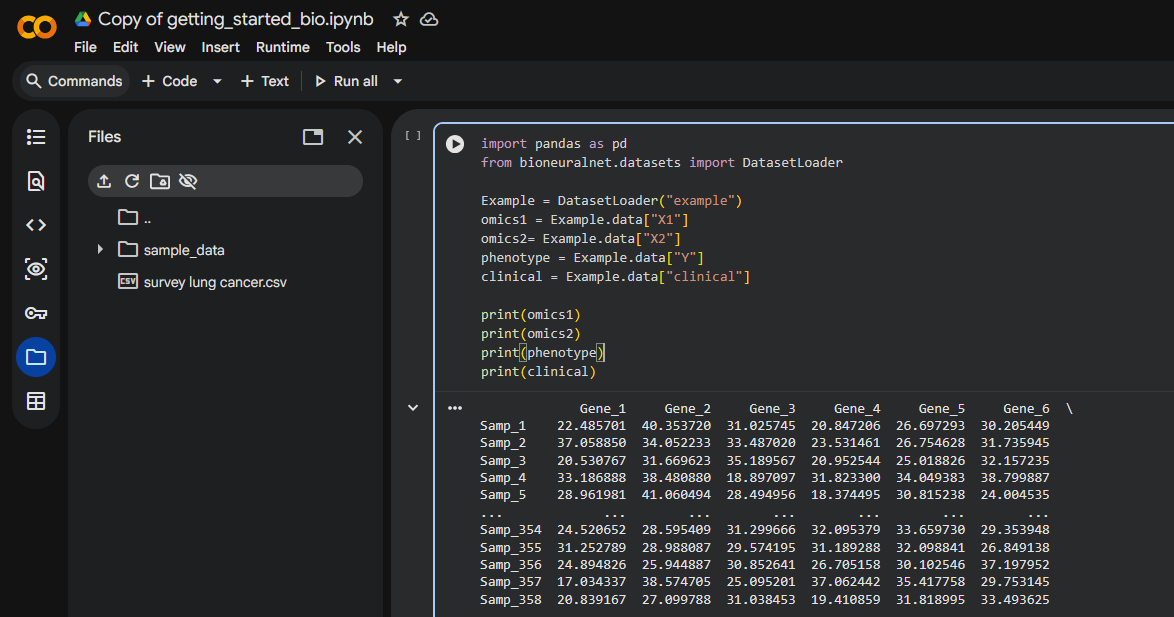
Loading and inspecting the data.
Finally, use gen_similarity_graph to create a network and graph_analysis to view the statistics.
To generate a network using your own data you will need to change variables omics1 and omics2 with your uploaded csv file (e.g., the lung_cancer variable we showed at the end of Step 4).
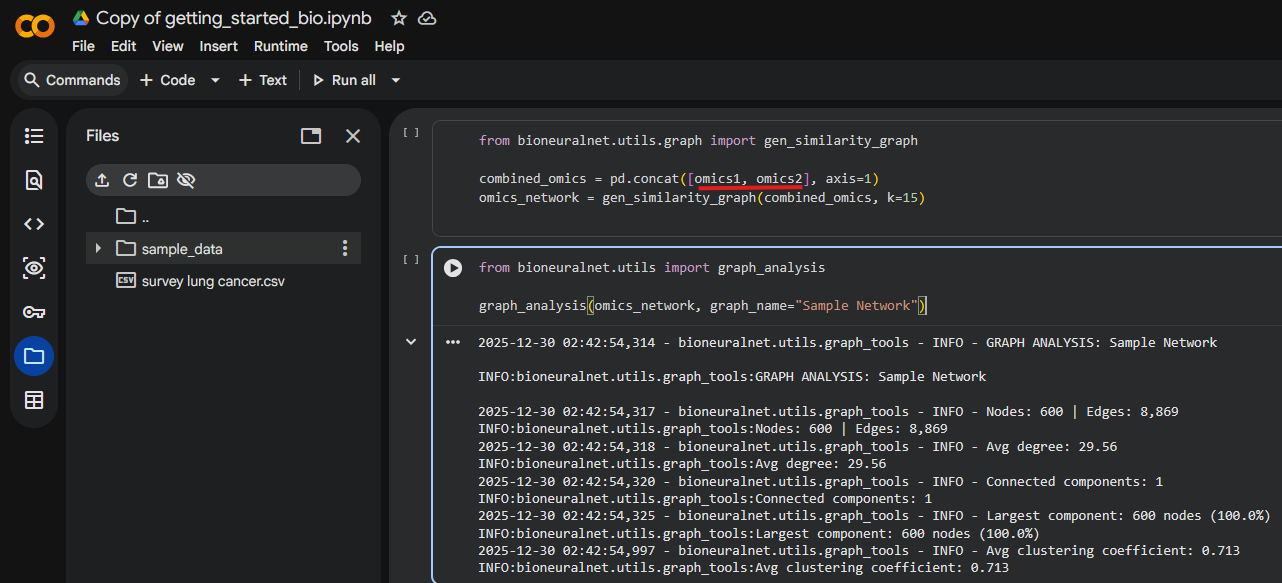
Generating the network and viewing graph statistics.